
A blocked microphone can stop a video meeting before it starts, prevent voice search from working, or leave a browser-based recording completely silent. Fortunately, Chrome provides clear controls for managing microphone access, and most problems can be fixed in a few minutes once you know where to look.
Learning how to enable microphone on Chrome involves more than clicking “Allow” on a pop-up. Chrome’s site permissions, your computer or mobile device settings, the selected input device, and even another open application can affect whether a website hears you. A microphone may work perfectly in one tab while remaining blocked in another because permissions are saved separately for each website.
This article explains the process for Windows, macOS, Android, iPhone, and Chromebook devices. It also covers site-specific permissions, microphone selection, private browsing, common error messages, and practical troubleshooting steps. Whether you need audio for Google Meet, an online classroom, a voice recorder, or customer-support software, the following instructions will help you restore reliable microphone access without weakening your privacy settings.
Chrome Microphone Permissions and How They Work
Chrome asks for permission when a website tries to use your microphone for the first time. Selecting “Allow” gives that specific site access, while selecting “Block” prevents it from recording audio. Chrome remembers the decision, so the prompt may not appear during later visits.
Browser permission is only one part of the process. Your operating system must also allow Chrome to use the microphone. If Windows, macOS, Android, or iOS blocks access at the system level, changing the website permission inside Chrome will not restore audio by itself.
Enable the Microphone from a Website Prompt
Open the website that needs audio and start the feature that uses your microphone, such as joining a call or beginning a recording. Chrome should display a permission prompt near the address bar. Select “Allow,” then continue with the website’s setup or audio test.
If you accidentally select “Block,” refreshing the page usually will not display the prompt again. Use the site controls beside the web address to change the saved permission. After allowing access, reload the page so the website can request and initialize the microphone correctly.
Quick permission checklist
- Confirm that the website address is correct and uses a secure HTTPS connection.
- Select “Allow” when Chrome displays the microphone permission prompt.
- Reload the website after changing a saved permission.
- Choose the correct input device in the website’s audio settings.
- Check that the microphone is not muted physically or through software.
- Close other applications that may be using the microphone exclusively.
Change Microphone Access for a Specific Website
Visit the affected website and select the site controls icon to the left of the address bar. Depending on your Chrome version, this may appear as sliders or another permissions symbol. Find “Microphone,” open its menu, and change the setting from “Block” to “Allow.”
Reload the tab after updating the permission. Some communication platforms also require you to leave and rejoin an active meeting before the new setting takes effect. This site-specific method is useful because it restores access without changing microphone permissions for every website you visit.
Manage Microphone Settings Across Chrome
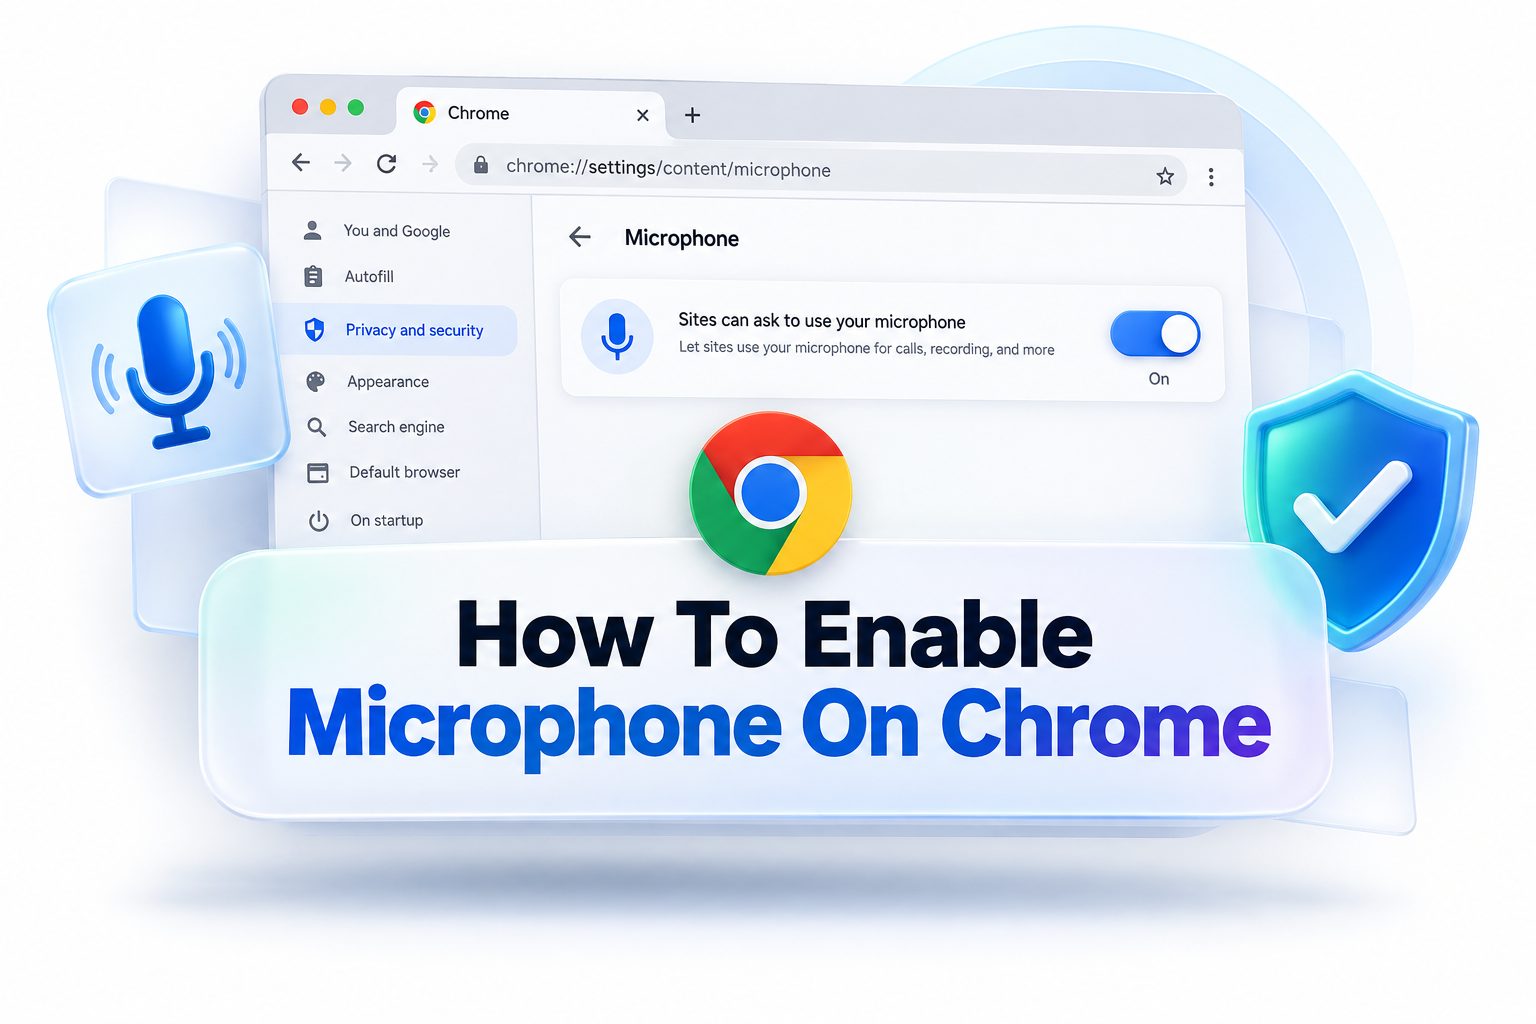
Open Chrome, select the three-dot menu, and choose “Settings.” Go to “Privacy and security,” select “Site settings,” and open “Microphone.” You can also type chrome://settings/content/microphone into the address bar to reach the relevant page more quickly.
Make sure sites are permitted to ask for microphone access. Review the lists of websites that are allowed or blocked, then remove or update outdated entries. Deleting a saved permission makes Chrome ask again the next time that website attempts to capture audio.
Chrome microphone permission comparison
Setting | What it does | Best use
Sites can ask to use your microphone | Allows websites to display permission requests | Recommended for normal browsing
Do not allow sites to use your microphone | Blocks microphone access across websites | Useful when audio input is never needed
Allow for a specific website | Gives one saved site microphone access | Suitable for trusted meeting or recording platforms
Block for a specific website | Prevents one saved site from accessing audio | Appropriate for sites that do not need voice input
Reset permission | Removes the saved decision | Helpful when prompts or permissions behave incorrectly
Select the Correct Microphone in Chrome
Many computers have several audio inputs, including a built-in microphone, a webcam microphone, a headset, and virtual audio software. Chrome may have permission to record but use the wrong device. In the microphone settings, select the input that matches the hardware you intend to use.
Disconnecting a headset or docking station can also change the default input. If Chrome shows the correct device but audio remains silent, select another microphone and switch back. Then reload the website. This can force the browser and operating system to refresh the active audio connection.
Enable Chrome Microphone Access on Windows
Open Windows Settings, choose “Privacy & security,” and select “Microphone” under app permissions. Turn on microphone access for the device and confirm that apps can access it. You should also enable the option that allows desktop applications to use the microphone because Chrome is treated as a desktop program.
Next, open the Windows sound settings and review the selected input device. Speak into the microphone while watching the input-level meter. If the meter does not move, the issue affects Windows rather than Chrome. Check the device connection, input volume, mute controls, and audio driver.
Windows troubleshooting checklist
- Open Settings and confirm that device-level microphone access is enabled.
- Allow desktop applications to access the microphone.
- Select the intended device under the Windows input settings.
- Increase the microphone’s input volume if the signal is too quiet.
- Run the built-in audio input troubleshooter when no level appears.
- Reconnect USB microphones directly instead of through an unreliable hub.
- Restart Chrome after changing Windows privacy or sound settings.
Enable Chrome Microphone Access on macOS
Open System Settings, select “Privacy & Security,” and choose “Microphone.” Find Google Chrome in the application list and turn on its permission. If Chrome is already open, macOS may ask you to quit and reopen the browser before the permission change becomes active.
Open “Sound” in System Settings and select the “Input” tab or input section. Choose the correct microphone and speak normally while checking the input-level indicator. Increase the input volume when necessary, and verify that a connected headset or external interface is recognized by macOS.
Enable the Microphone on Android Chrome
Open the Android Settings app, choose “Apps,” and select Chrome. Tap “Permissions,” choose “Microphone,” and set access to “Allow only while using the app” or the closest available option. Menu names vary slightly between phone manufacturers and Android versions.
Return to Chrome and open the website that needs audio. Tap the icon beside the address, open “Permissions,” and allow microphone access for that site. Reload the page afterward. Android’s system-wide microphone privacy toggle must also be enabled in Quick Settings or Privacy controls.
Android permission levels
- System microphone control enables or disables microphone use across the device.
- Chrome app permission determines whether the browser may request audio input.
- Website permission controls whether an individual page can use the microphone.
- The page’s audio menu selects the active input when multiple devices are available.
- A Bluetooth headset setting determines whether its microphone handles call audio.
Enable the Microphone on iPhone and iPad
Open the Settings app, scroll to Chrome, and enable “Microphone.” On some iOS or iPadOS versions, microphone permissions may appear under “Privacy & Security” followed by “Microphone.” Make sure the switch beside Chrome is active before returning to the browser.
Open the required website again and approve any site-level prompt that appears. If no prompt is displayed, close the tab, reopen the page, and activate its audio feature. Restarting Chrome may be necessary after changing iOS permissions, particularly when the browser was running in the background.
Configure Microphone Access on a Chromebook
Select the time area on the Chromebook shelf, open Settings, and navigate to the privacy or app permissions controls. Confirm that microphone access is enabled. Then open Chrome’s site settings and verify that the website is allowed to request and use the selected microphone.
Chromebooks may switch inputs when USB headsets, Bluetooth earbuds, monitors, or docks are connected. Open the quick audio controls and select the correct input device. Test the microphone before joining a meeting, especially after waking the Chromebook or reconnecting an external accessory.
Device-specific checks
Device | Main system setting | Additional check
Windows PC | Privacy & security, then Microphone | Allow desktop applications
Mac | Privacy & Security, then Microphone | Reopen Chrome after approval
Android phone | Apps, Chrome, Permissions | Enable the system microphone toggle
iPhone or iPad | Chrome settings or Privacy & Security | Restart Chrome after permission changes
Chromebook | Privacy controls and Chrome site settings | Check the quick audio input selector
Fix a Microphone That Chrome Still Cannot Detect
Start by confirming that the microphone works outside Chrome. Use the operating system’s sound recorder, input meter, or another trusted application. If it fails everywhere, inspect the cable, wireless connection, battery, physical mute switch, input volume, and hardware drivers before adjusting more browser settings.
If the microphone works elsewhere, close unnecessary tabs and communication applications. Restart Chrome and revisit the affected website. You can also reset its site permission, clear its stored data, or test another trusted site. This helps separate a browser-wide problem from an issue affecting one web application.
Resolve Blocked, Muted, or Silent Audio
A blocked microphone normally produces a permission icon or message near the address bar. A muted microphone may be fully accessible but send no signal because the website, operating system, headset, or keyboard mute control is active. Check each layer instead of assuming Chrome is responsible.
Silent or distorted audio can result from low input volume, aggressive noise suppression, a loose connection, or the wrong microphone selection. Some meeting platforms have separate audio settings that override Chrome’s default. Review the platform’s device menu and run its built-in microphone test before joining.
Fast audio recovery tips
- Unmute the microphone inside the website before checking deeper settings.
- Look for a physical mute button on the headset, webcam, or laptop.
- Confirm that the browser and website show the same input device.
- Raise the system input level gradually to avoid clipping or distortion.
- Disable experimental noise filtering if speech cuts in and out.
- Move closer to the microphone and reduce loud background noise.
- Test without Bluetooth to rule out profile or connection problems.
Reset Site Permissions and Stored Data
Open the website, select the controls beside the address bar, and choose the option to reset permissions when available. Reload the page and approve the new microphone request. This removes an incorrect saved choice without affecting permissions granted to unrelated websites.
If resetting permission does not help, clear stored data for the affected site through Chrome’s privacy settings. You may be signed out, and local preferences could be removed. Avoid clearing all browsing data unless necessary, since a targeted reset is usually faster and less disruptive.
Check Chrome Updates, Extensions, and Browser Profiles
An outdated Chrome installation may contain audio bugs or compatibility problems already corrected in a newer release. Open the Chrome menu, choose “Help,” and select “About Google Chrome.” Allow available updates to install, then relaunch the browser and test the microphone again.
Extensions that manage privacy, meetings, audio routing, or website scripts can interfere with recording. Test the site in Guest mode or a clean browser profile. If audio works there, disable extensions individually in your regular profile until you identify the conflicting add-on. See [Internal Link: Chrome Browser Troubleshooting] for related fixes.
Browser isolation checklist
Test | Result | Likely cause
Microphone works in Guest mode | Regular profile fails | Extension or profile setting
Microphone works on another website | One website fails | Site permission or platform issue
Microphone fails in every Chrome profile | Other apps work | Chrome or system permission
Microphone fails in every application | No input level appears | Hardware, driver, or operating system
External microphone works | Built-in microphone fails | Internal hardware or device configuration
Use the Microphone Safely on Trusted Websites
Microphone permission should be limited to websites that genuinely need audio. Video conferencing, voice recording, language practice, telehealth, and customer-support services are reasonable examples. A general information page usually has no legitimate reason to request continuous access to your microphone.
Review saved permissions periodically and remove websites you no longer use. Chrome displays an indicator when a page accesses recording hardware, so investigate unexpected activity immediately. For broader privacy practices, read [Internal Link: Browser Privacy and Security Tips] and keep both Chrome and your operating system updated.
Prepare Chrome Before Important Calls and Recordings
Test your audio several minutes before an interview, class, webinar, or client meeting. Confirm the website permission, selected device, input level, and network connection. Record a short sample when possible, since an input meter can move even when the resulting audio is too quiet or distorted.
Keep a backup option available for important sessions. Wired earbuds or your laptop’s built-in microphone may be more dependable than an unstable Bluetooth device. Close unused recording applications and silence notifications. These simple preparations reduce last-minute troubleshooting and prevent avoidable interruptions once the session begins.
Pre-call preparation list
- Connect the preferred microphone before opening Chrome.
- Confirm system-level and website-level permissions.
- Select the correct input in Chrome and the meeting platform.
- Record and play back a short voice sample.
- Check that speech is clear without peaking or crackling.
- Close applications that may take control of the microphone.
- Keep a wired or built-in microphone ready as a backup.
Conclusion
Chrome microphone problems usually come from one of four places: a blocked website permission, an operating system privacy setting, an incorrect input device, or another application interfering with audio. Checking these layers in order is more effective than repeatedly refreshing the page or reinstalling the browser without identifying the cause.
To remember how to enable microphone on Chrome, begin with the permission beside the address bar, continue with Chrome’s site settings, and then verify the microphone controls on your device. Test the input outside the browser if the problem continues, and use a clean Chrome profile to identify extension conflicts.
Once access is restored, keep permissions limited to websites you trust. Review old approvals occasionally, watch for unexpected recording indicators, and test audio before important calls. These habits provide dependable browser audio while preserving control over when and where your microphone can be used.
Frequently Asked Questions
Why is Chrome not asking for microphone permission
Chrome may have saved an earlier decision to block or allow the website. Open the site controls beside the address bar, reset the microphone permission, and reload the page. The browser should display a fresh request when the site activates audio.
Why does my microphone work elsewhere but not in Chrome?
Chrome may be blocked by the operating system, using the wrong input device, or affected by a saved site permission. Check Chrome’s microphone settings, confirm system access, and test the website in Guest mode to rule out extensions.
How do I change the default microphone in Chrome?
Open Chrome’s settings, go to Privacy and security, select Site settings, and choose Microphone. Use the device menu to select your preferred input. Reload open websites afterward so they recognize the newly selected microphone.
Can a website use my microphone without permission?
Chrome normally requires permission before a website can access the microphone. Previously approved sites may retain access for later visits, so review the allowed-sites list regularly and remove permissions for services you no longer trust or use.
Why is my microphone volume too low in Chrome?
Low volume usually comes from the operating system’s input level, microphone distance, or the website’s audio controls. Increase the system input volume, select the correct device, move closer, and disable excessive noise suppression if speech keeps fading.
0 Comments