
Markiplier’s voice is instantly recognizable: energetic when a game turns chaotic, measured during story-driven moments, and close enough to feel conversational. That sound is not the result of a single piece of gear alone, but the microphone remains a major part of the formula. For viewers, streamers, and aspiring gaming creators, the question what microphone does markiplier use often leads to a wider question: what actually makes spoken audio sound polished on YouTube?
The short answer is that Markiplier has used different microphones throughout his career. His more recent creator setup has been associated with the BEACN Mic, while older setups are often linked to microphones such as the Shure KSM44A, Shure SM7B, and Blue Yeti. His equipment changes over time, so the most useful takeaway is not simply copying one model. It is learning why certain microphones suit gaming commentary, voice recording, and studio-style content.
H2: Markiplier’s Current Microphone Setup
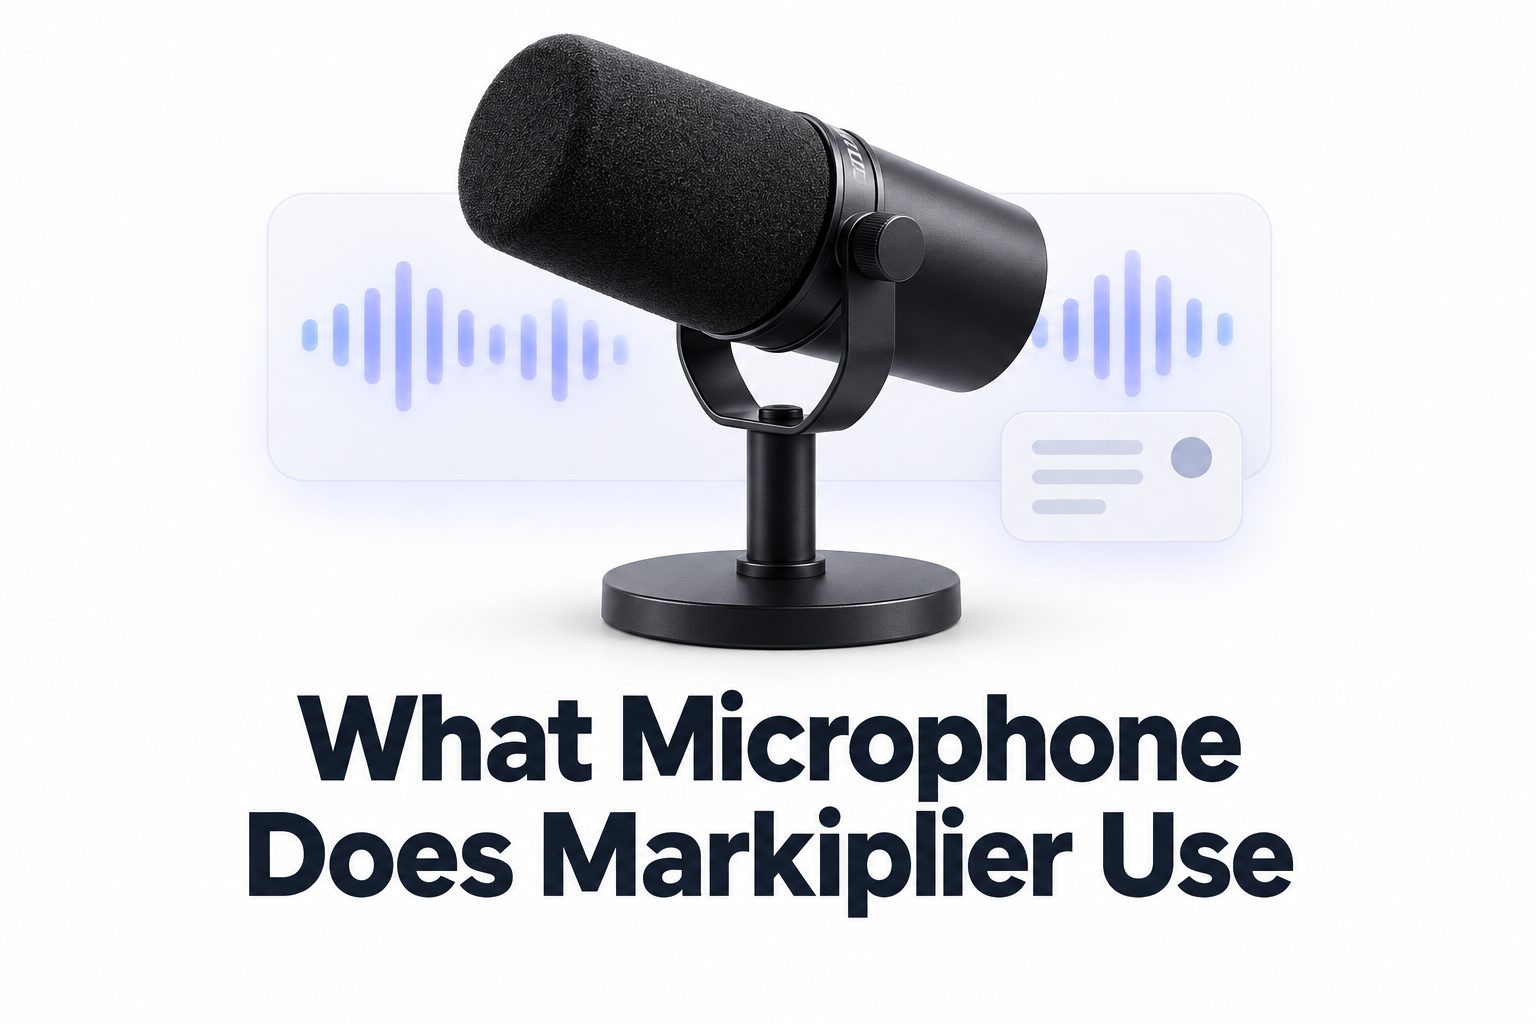
Markiplier has been seen using the BEACN Mic in more recent content and studio setups. It is a dynamic broadcast microphone designed for creators, with a clean visual style and practical controls aimed at streaming, recording, and gaming. Its focused pickup pattern helps emphasize the speaker while reducing some unwanted room noise.
The BEACN Mic suits a creator who records long sessions and needs a direct, present vocal sound. Dynamic microphones are often forgiving in bedrooms, offices, and gaming rooms because they generally capture less distant ambience than highly sensitive condenser microphones. That can make editing commentary faster and more consistent.
H2: Why the BEACN Mic Fits Gaming Content
Gaming videos place unusual demands on audio equipment. A creator may laugh loudly, whisper during suspenseful scenes, react sharply to jump scares, and speak continuously for an hour or more. A broadcast-focused microphone can handle those changing levels while keeping the voice intelligible and controlled.
The microphone alone does not create Markiplier’s finished sound. Positioning, a proper audio interface or USB connection, gain settings, compression, equalization, and final editing all contribute. Still, choosing a microphone designed for close vocal capture gives creators a dependable starting point for commentary-heavy videos.
Key Features That Matter for Gaming Commentary
- A focused pickup pattern that favors the speaker’s voice over room reflections
- Good handling of loud reactions without harsh distortion
- Clear midrange detail so dialogue remains understandable over gameplay
- A sturdy mount or boom arm that keeps the microphone close to the mouth
- Convenient monitoring and gain control during lengthy recording sessions
- A sound that remains natural after compression and noise reduction
H2: The Shure KSM44A in Earlier Markiplier Setups
Many gear articles and fan discussions have connected Markiplier’s earlier recording setup with the Shure KSM44A. This is a professional multi-pattern condenser microphone known for capturing detailed vocals. It belongs in a different category from a typical entry-level gaming microphone and benefits from a controlled recording environment.
A condenser microphone like the KSM44A can capture a wide range of vocal detail, including breath, room character, and subtle tonal changes. That sensitivity can sound excellent in a treated studio, but it also means background noise, keyboard clicks, computer fans, and reflections may become more noticeable.
H2: Why Older Microphone Information Can Be Confusing
Creators with long careers rarely use one microphone forever. Markiplier’s older videos span different locations, production styles, and technical eras. A microphone visible in a 2015 recording may not be the same model used for a modern podcast, livestream, cinematic project, or gameplay upload.
This explains why search results often name several models, including the Blue Yeti, Shure SM7B, Shure KSM44A, and BEACN Mic. Rather than treating every claim as a contradiction, it is better to view the list as a timeline of possible setups. The microphone depends on the period and project.
Microphone Type Comparison for Content Creators
| Microphone type | Best recording environment | Typical sound character | Common use |
| — | — | — | — |
| Dynamic microphone | Untreated bedroom or gaming room | Focused, controlled, less room pickup | Streaming and commentary |
| Condenser microphone | Treated studio or quiet room | Detailed, open, sensitive | Voice-over and music |
| USB microphone | Simple desktop setup | Convenient, varies by model | Beginners and casual creators |
| XLR microphone | Flexible creator setup | Depends on microphone and interface | Serious recording workflows |
H2: The Blue Yeti Era and Early YouTube Audio
Like many creators who started during YouTube’s early gaming boom, Markiplier has been associated with the Blue Yeti. The Blue Yeti became popular because it offered a straightforward USB connection, selectable pickup patterns, and a noticeable improvement over built-in computer microphones.
A USB microphone can still be a sensible choice for new creators. It removes the need for an audio interface and keeps setup costs lower. However, a desktop-mounted microphone often sits farther from the speaker, which can make room echo, keyboard noise, and fan noise more obvious.
H2: The Shure SM7B Connection
The Shure SM7B is another microphone commonly mentioned in discussions about Markiplier’s voice setup and creator gear in general. It is a dynamic broadcast microphone with a warm, smooth sound that has become familiar across podcasts, radio studios, streaming rooms, and YouTube channels.
Its reputation does not mean it is automatically the right choice for everyone. The SM7B usually needs substantial clean gain, so users often pair it with a capable audio interface or inline preamp. That raises the total setup cost beyond the microphone’s purchase price.
Practical Buying Checklist Before Choosing a Similar
- Measure how far the microphone will sit from your mouth during recording.
- Listen for computer fans, traffic, air conditioning, and keyboard noise.
- Decide whether you want a simple USB connection or an expandable XLR setup.
- Set aside money for a boom arm, shock mount, pop filter, cable, and interface if needed.
- Test your room before buying expensive gear by recording a sample on your phone.
- Prioritize clear speech and reliable workflow over copying a creator’s exact model.
H2: Why a Dynamic Microphone May Be the Better Choice
For most gaming creators, a dynamic microphone is the practical choice. It rewards close speaking distance and usually captures less of the room than a condenser microphone. That is valuable when recording in a normal home office rather than an acoustically treated studio.
A dynamic model also helps maintain a more consistent voice level during active gameplay. When the microphone stays on a boom arm near the speaker, the voice remains prominent even when the creator turns slightly toward a monitor. Good technique still matters, but the setup becomes easier to manage.
H2: When a Condenser Microphone Makes Sense
A condenser microphone can be an excellent option when the recording space is quiet and treated. It captures nuance, articulation, and a wider sense of vocal detail. For voice-over work, scripted videos, music, and carefully produced narration, that extra sensitivity can sound refined and professional.
The trade-off is that a condenser microphone reveals more of everything. A mechanical keyboard, hard walls, desk vibrations, and a noisy PC can all become part of the recording. Before upgrading to a sensitive studio condenser, creators should improve their microphone placement and room treatment first.
H3: Room Treatment Matters More Than Many Upgrades
Soft furnishings, curtains, rugs, bookshelves, and acoustic panels can reduce harsh reflections in a recording space. They do not make a room completely silent, but they help prevent the hollow, distant sound that makes gameplay commentary feel less polished than the video itself.
A simple test is to clap once in the recording area. If the clap rings or bounces around the room, the microphone will likely hear that reflection too. Moving the desk, adding soft materials, and recording closer to the microphone can deliver more audible improvement than buying a pricier model.
H3: Microphone Placement Creates a More Professional Voice
Place the microphone roughly four to eight inches from your mouth, then adjust based on the model and your speaking volume. Aim it slightly off to one side rather than directly in front of your mouth. This reduces bursts of air from words containing P and B sounds.
A boom arm is useful because it keeps the microphone at a consistent height and distance. It also frees desk space and reduces vibrations caused by tapping, typing, or moving a mouse. Consistency is especially important for creators who record episodes over several days.
H2: The Role of Audio Interfaces and Processing
An XLR microphone requires an audio interface, mixer, or recorder that provides clean preamp gain. The interface converts the microphone signal into digital audio for the computer. It also gives you control over gain, headphone monitoring, and sometimes direct monitoring without noticeable delay.
Processing then shapes the raw voice into a finished track. A high-pass filter removes unnecessary low rumble, compression evens out loud and quiet moments, and gentle equalization improves clarity. Noise reduction should be used carefully, since aggressive settings can make speech sound artificial or damaged.
H2: A Realistic Markiplier-Inspired Setup
A Markiplier-inspired setup should focus on practical results rather than exact brand matching. Start with a dynamic microphone positioned close to your mouth, a stable boom arm, closed-back headphones, and basic room improvements. Those choices support clear recordings whether you make gaming videos, podcasts, or streams.
If your budget allows, choose an XLR microphone and a reliable interface for more control and future upgrades. If you want a faster start, a quality USB dynamic microphone can work extremely well. The best setup is the one you can use confidently every time you press record.
Budget Paths for Better Creator Audio
| Budget level | Suggested approach | Main advantage |
| — | — | — |
| Starter | USB dynamic microphone, boom arm, basic pop filter | Quick and simple setup |
| Mid-range | XLR dynamic microphone and entry-level interface | Better control and upgrade options |
| Advanced | Broadcast microphone, quality interface, treated room | Consistent studio-level production |
| Studio-focused | Professional condenser microphone and acoustic treatment | Detailed vocal capture in quiet rooms |
H2: Common Mistakes to Avoid When Copying Creator Gear
Buying a famous microphone without considering your room is one of the most common mistakes. A premium condenser in an echoey bedroom may sound worse than a modest dynamic microphone used close to the mouth. The recording environment should guide the purchase, not appearance alone.
Another mistake is setting the gain too high and speaking too far away. That approach amplifies room noise rather than voice quality. Keep the microphone near your mouth, lower the gain until loud speech remains clean, and record a short test before committing to a long session.
H2: Better Alternatives for Different Budgets
Creators who want a BEACN-style broadcast setup can consider several types of alternatives. USB dynamic microphones offer convenience, while XLR dynamic models provide more flexibility. The right model depends on whether you need quick setup, built-in controls, or a signal chain that can expand later.
Popular choices should always be judged by your own voice and workspace. A microphone that flatters a deep podcast voice may not suit a brighter, faster gaming delivery. Whenever possible, listen to unprocessed sample recordings and compare them through normal headphones before making a decision.
Useful Setup Tips for Cleaner Recordings
- Record a 30-second test before every important session.
- Keep the microphone off the desk whenever possible.
- Turn off unnecessary fans, alerts, and noisy devices.
- Use headphones to catch hum, clipping, and background noise early.
- Leave a little headroom so loud reactions do not distort.
- Edit with a light touch to preserve natural vocal character.
H2: The Sound Behind Markiplier’s Commentary Style
Markiplier’s audio works because it supports his performance rather than calling attention to itself. His voice is close, intelligible, and capable of carrying both quiet dialogue and high-energy reactions. The equipment helps, but delivery, timing, and consistent recording habits create the stronger impression.
For aspiring creators, that is encouraging news. You do not need an expensive studio to make viewers comfortable listening. A quiet space, sensible microphone placement, balanced levels, and clear speech will make a bigger difference than chasing every detail of a celebrity creator’s equipment list.
H2: Final Thoughts on Markiplier’s Microphone Choice
The best answer depends on the era of content you are watching. Markiplier has used more than one setup, with the BEACN Mic associated with newer recordings and professional Shure models often linked to earlier studio-oriented work. Each choice reflects a different production need and recording environment.
If you want a similar sound, begin with the principles behind the setup: use a microphone close to your mouth, reduce room noise, monitor your levels, and apply modest processing. A dynamic microphone is usually the safest starting point for gaming content recorded at home. The question what microphone does markiplier use is useful, but the more valuable lesson is how to build an audio workflow that suits your own voice.
H2: Frequently Asked Questions
H3: Does Markiplier use a BEACN Mic?
Markiplier has been associated with the BEACN Mic in more recent creator setups. Since creators change equipment over time and use different spaces, it is best viewed as a current-era reference rather than a permanent, exclusive microphone choice.
H3: Did Markiplier use a Blue Yeti?
Markiplier has been linked to the Blue Yeti during earlier phases of his YouTube career. The microphone was widely used by gaming creators because it was affordable, USB-powered, and substantially clearer than common built-in computer microphone options.
H3: Is the Shure SM7B good for gaming videos?
The Shure SM7B is well suited to gaming commentary because it handles close speech well and reduces some room pickup. It needs plenty of clean gain, however, so users should budget for a capable interface or inline preamp.
H3: Can a USB microphone sound professional?
Yes. A good USB microphone can produce professional results when it is positioned correctly in a reasonably quiet room. Recording technique, room reflections, voice level, and editing have a major effect on the final sound.
H3: Do I need an expensive microphone to start YouTube?
No. Start with the best microphone your budget allows, then improve placement and room control. Viewers will forgive modest equipment more readily than distracting echo, clipping, excessive background noise, or speech that is difficult to understand.
0 Comments